
About a year ago, I made a set of case match cards. I wanted to keep the design simple and clear. My use case was to help the students recognise and get used to the difference between the two letter shapes for the same letter. I built this set with our “baby” level in mind; for most of these students, this is their first exposure to the alphabet.
I noticed that many alphabet card sets online are only in one case or have beautiful, colourful designs. What I wanted was something simple. Something that the students could point to and answer, something that they could colour or trace.
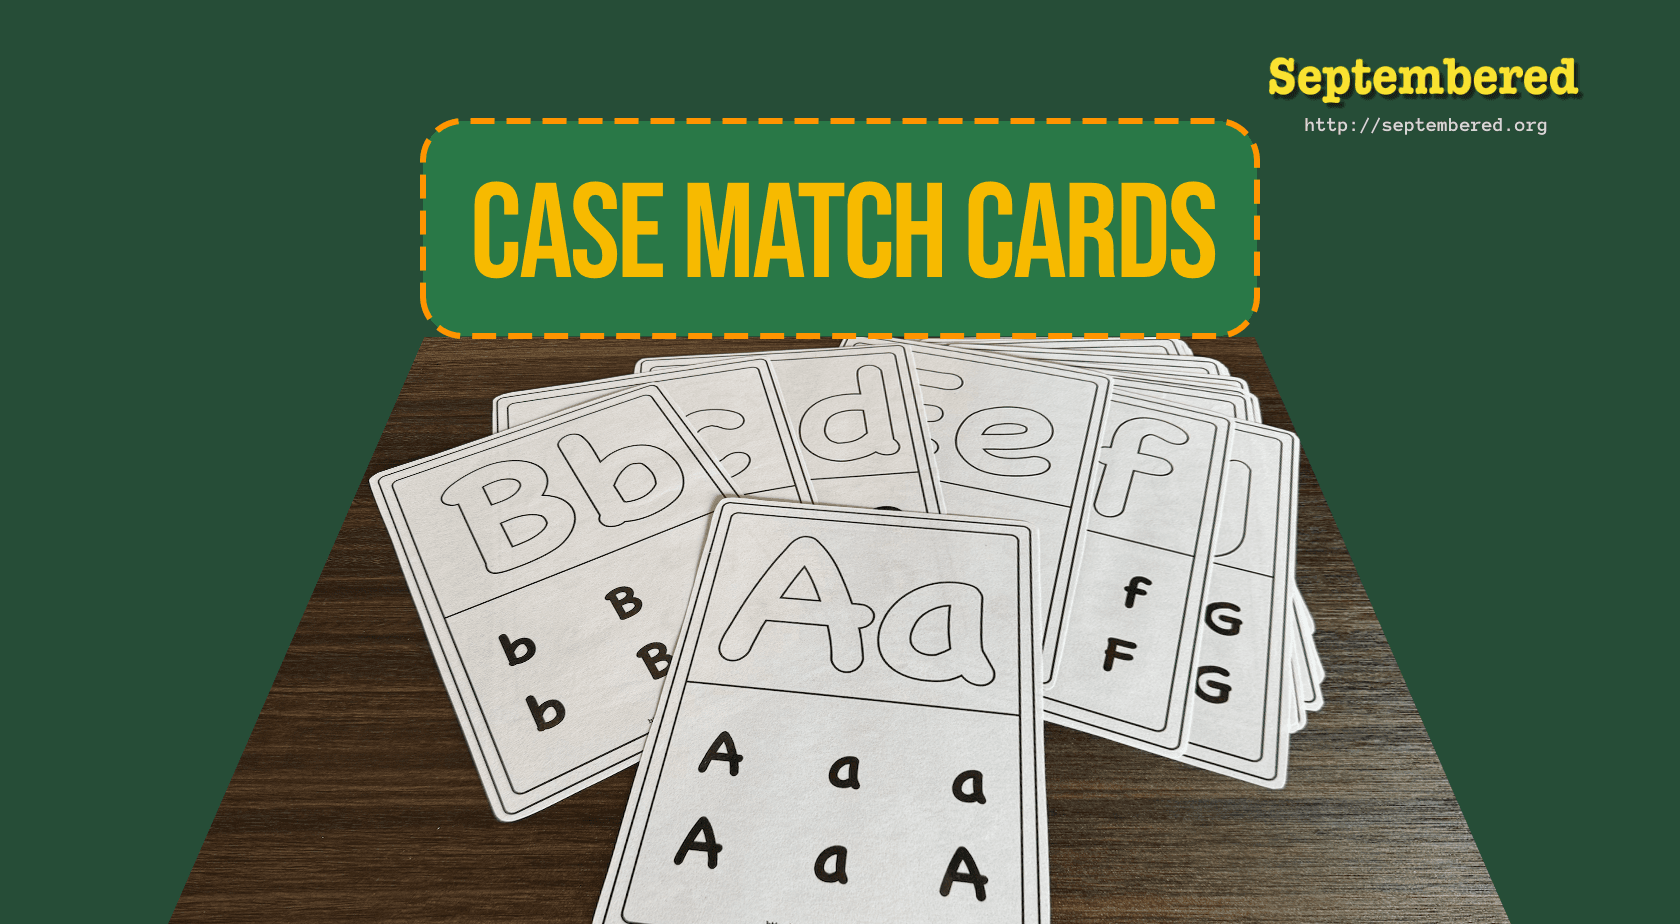
Design
The first thing you will notice about these cards is that they aren’t very colourful. At first, I was going to use these cards as worksheets, which you can do. I also considered making them into a little booklet that the students could keep.
Top Section
The top of the card features an image of the uppercase and lowercase letters in a bubble-style font. You can use this section of the cards for:
- Finger tracing the letter
- Colouring the letter
- Drawing the stroke
I left off the stroke lines from this for two main reasons
1. I wanted the cards to be clear
I have noticed that some students can lose focus when looking at colourful or highly detailed cards. They trace the lines backwards or look at the numbers or dot markers on the stroke order instead of focusing on the letter. I would also argue that having the upper and lowercase letters together on top breaks this rule.
2. The stroke order isn’t always the same
Over the years, I have noticed that some books, cards, and even schools here teach the stroke order one way, and other places teach it another.
There is a beautiful illustration of the different stroke patterns of the letter A in this article:
Principles Governing Stroke Patterns in Writing | Cognitive Neuroscience Lab | Johns Hopkins University
I left the stroke with the hopes that the teacher would teach the stroke pattern that they use, and the students would follow along.

Bottom Section
The bottom section of the card contains three uppercase letters and three lowercase letters.
The original idea for this section was for the students to find the correct case. If the teacher said, “Find all the lowercase letters,” the students would touch them.
This section is like the workbook part of the class; you teach the letter with the top section, and then do the practice part with this section.
How to Use the Cards
Teaching
I started using these cards to help the students reconise the the shapes of the letters, to help them match them to the songs that they hear and watch.
We were teaching a letter a week when I was using these cards, so I needed to devise many ways to use them. Here is a list of some of the ways that I used the cards. And there is a short video at the bottom of the page that will help you visualise the games. Over time, I was mixing and matching the games. I have found that, as much as we want to give the students new things, they thrive on repetition and routine, and sometimes it is more fun for them when they know what to do.
Games
You don’t need to use the whole card all the time. I have broken this list up into the different sections of the card.
Top section
Colour Letters
Students can colour the letters. You can just let them colour to get used to the shapes, or you can tell them to colour the uppercase in one colour and the lowercase in another colour.
Stroke Trace
The teacher shows the students how to write the letters. You can have one on the board or have one of the A4 Case Match Cards as a teacher’s set. Students can then follow along with the teacher. One of our teachers uses the computer in the classroom with a touch screen and has the students come up and trace the letters on the board.
Bottom Section
Circle Case
The teacher calls out which case the students should find, and they need to find and circle all the letters of that case.
Circle each case in a different colour.
This is just a variation of the one above. You can use this to practice colours as well. Circle the uppercase letters in red and circle the lowercase letters in blue.
Draw a Line to Connect All the Same Case Letters
Instead of circling a letter you can draw a line between each one. like a very simple maze.
Point and Say
I used this one when I was going one by one to test comprehension. I would choose one of the letters in the bottom section, and the student would tell me whether it is uppercase or lowercase, plus the letter name. Sometimes we would add the sound
Finger Twister
Now this one is a little tricky; we did this near the end of the term when the students were used to using the cards. I did this with the A5 cards as I hadn’t made the big A4 ones, so I just had one student come up at a time and play. They all wanted to try.
It is more of a listing game, the teacher calls out the letter and the case, for example “uppercase a” the student then needs to cover all the uppercase a’s with his/her fingers. once they have the fingers in place you call out again. you can call out the next case then mix it up by saying the same case twice and seeing if they were listening.
Both
Point and Say
This is the same as above, the teacher can point to one of the big letters, and the students need to say what it is, and point to the same case in the lower section.
Colour Match Case
Colour or trace the big letter at the top and then circle or colour that same case in the bottom section. You can also colour the other case in a different colour.
Connect the Case
Draw a line from the upper letter through all the lower letters.

Download Case Match Cards
I have created and A5 and A4 set of cards for you to use if you want to give them a try.